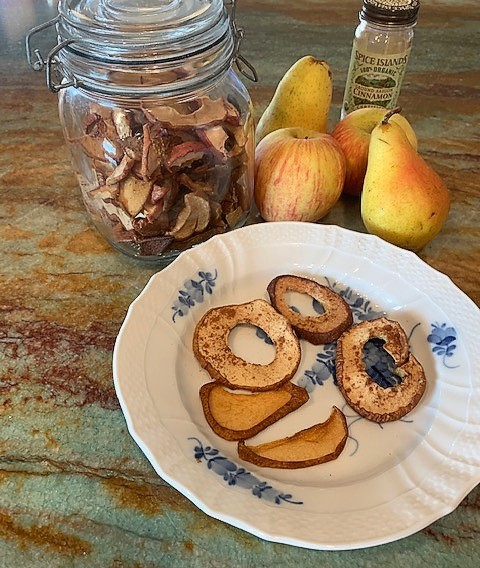
Dried fruit has more calories per ounce than fresh fruit, so watch your serving size and aim to limit your dried fruit intake to not more than you would get from 1-2 apples or pears.
A big advantage of drying your own fruit is you can desiccate it without adding sugar or preservatives, which are far too commonly added to commercially dried fruit. You also can ensure optimal flavor by selecting fruit that is fully ripe and at its prime.
Be sure that the fruit is fully dried, or you run the risk of bacteria and mold growing on your partially dried fruit. Easiest is to use a traditional food drier with trays. If you do not have one, you can still use your oven with baking sheets. Fruit dries best at low heat over several hours.
Cinnamon adds a pleasant flavor and decreases blood sugar levels, so enjoy sprinkling a light dash of cinnamon over the fruit prior to drying it.
Ingredients:
4 medium organic apples, rinse in cool, clean water, dry, slice into ¼-inch slices discarding the core and any blemishes
4 medium organic pears, rinse in cool, clean water, dry, slice into ¼-inch slices discarding the core and any blemishes
~1/2-1 teaspoon ground cinnamon (to taste)
Directions:
If you have a food dryer, then follow the drying instructions for your equipment.
If you have a convection oven, preheat the oven to 200 degrees F, cover baking sheets with waxed paper, and spread out the fruit so the edges are not touching.
For a regular oven, preheat the oven to 250 degrees F, cover baking sheets with waxed paper to prevent fruit from sticking to the pan, and spread out the fruit so the edges are not touching.
Total baking time varies with your oven and the thickness of the fruit, typically taking 2 ½ to 3 ½ hours. Place baking sheets into the oven and bake for 1 hour, remove, flip the fruit, rotate the pans, and repeat again in 1 hour.
The fruit is finished when the texture is leathery and no longer sticky. If you cut into it, it should not appear juicy. Once it has dried to your satisfaction, turn off the oven heat, and leave the fruit in the oven until the trays have cooled.
To store your dried fruit, see-through, air-tight, clean containers such as freezer bags, canning jars, and vacuum seal bags are all excellent choices. Smaller, single serving sizes are best, as they limit exposure once opened. Label each container with ingredients and the date.
Keep in a cool, dark, dry location free from pests. At 60 degrees F, the fruit will remain shelf stable for up to 6 months to a year. At 75 degrees F, it lasts half that time. To ensure long-term storage, you can place containers in the freezer.
During the first few days in storage, check for signs of moisture. If any cloudiness appears on the walls of the container, place the fruit back in the food dryer or oven.
Monitor for spoilage. If you notice mold, or if there is an “off” smell, discard it. Other symptoms of spoilage include off color, lack of flavor, or hardness. If there’s any doubt, don’t consume it.
Lastly, remember to taste and enjoy each bite!
Steven Masley, MD
